|
|
|
|
| Return to Main Menu |
|
Part Type Section |
|
The 'Part Type' section shows how you locate all the parts for the particular vehicle you are seeking.
|
|
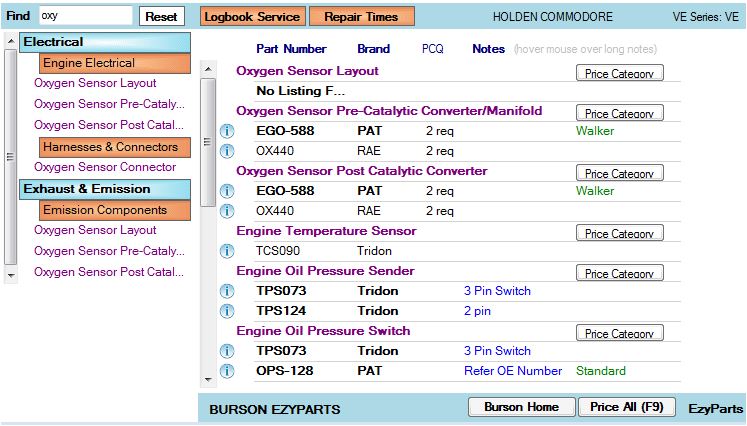
Smart Part Finder 'Find'
Just start typing the part type you are looking for and as you type the parts list will get shorter as the system searches all available Part Types. By clicking on the required part type the text will turn green and take you straight to where the part is located within the catalogue.
|
|
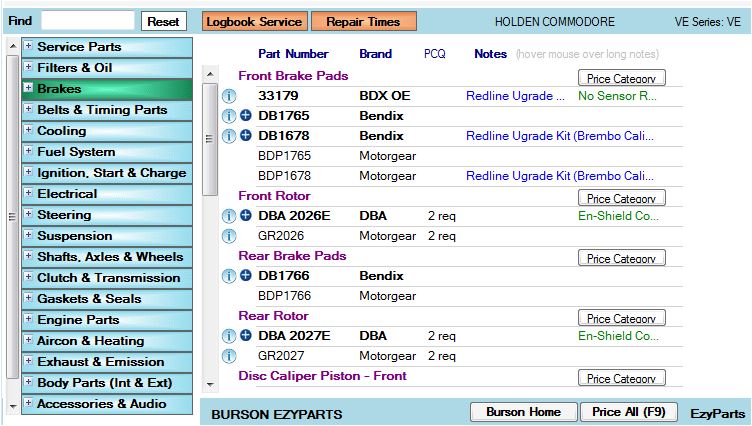
The second method to locate the parts is by
clicking through the displayed part
type selection tree. There are two
components to the 'Part Type' section
tree, 'Part Groups' and 'Sub Groups'. |
|
Once you select a 'Part Group' All the parts in that 'Part Group' are displayed in the
'Part List' area to the right. |
|
|
|
By clicking the ' + ' symbol on the left of the Part Group heading, a section of 'Sub Group Products' will appear
with products listed. Clicking on the part description (highlighted in green) will list the parts on the right which can be priced. |
|
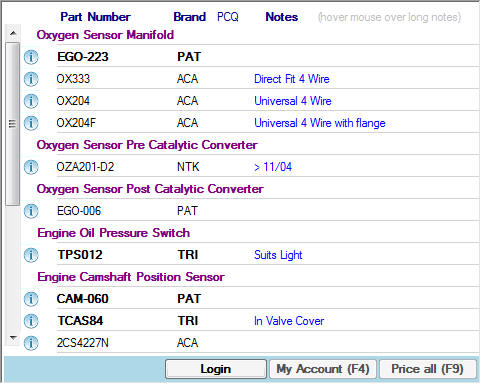
Part Number Section Explained The Part Headings are shown in purple.
3. PCQ - Per Car Quantity of the part required
The below screen lists the stock levels of your Local store, Nearby stores and Distribution Centre (1st,2nd & 3rd figures)
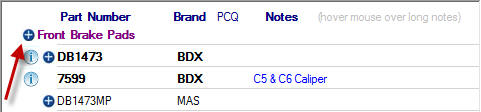
Part Variances In certain sections of the catalogue only the Brand Primary Part will be shown. In these cases if there is a part variance, a '+' button will be displayed next to the Part Heading, as shown below.
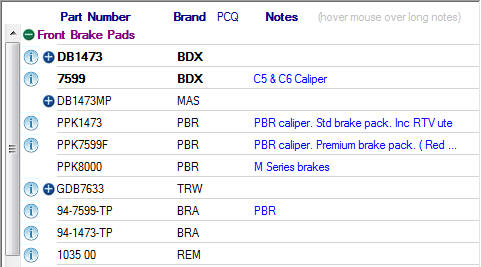
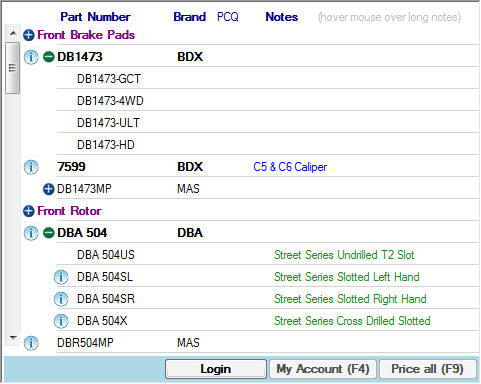
In the above image you can see there is a second '+' button next to some of the Part Numbers. This indicates that there is an optional upgrade part or children parts of a master part available for that 'Part Number'. Once again clicking the '-' button will hide the optional upgrade parts.
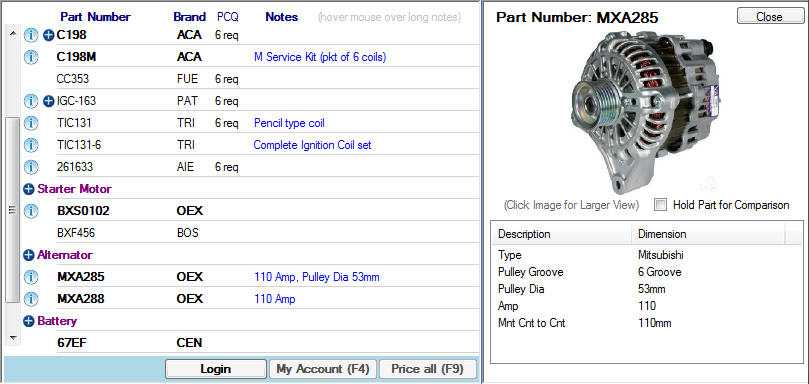
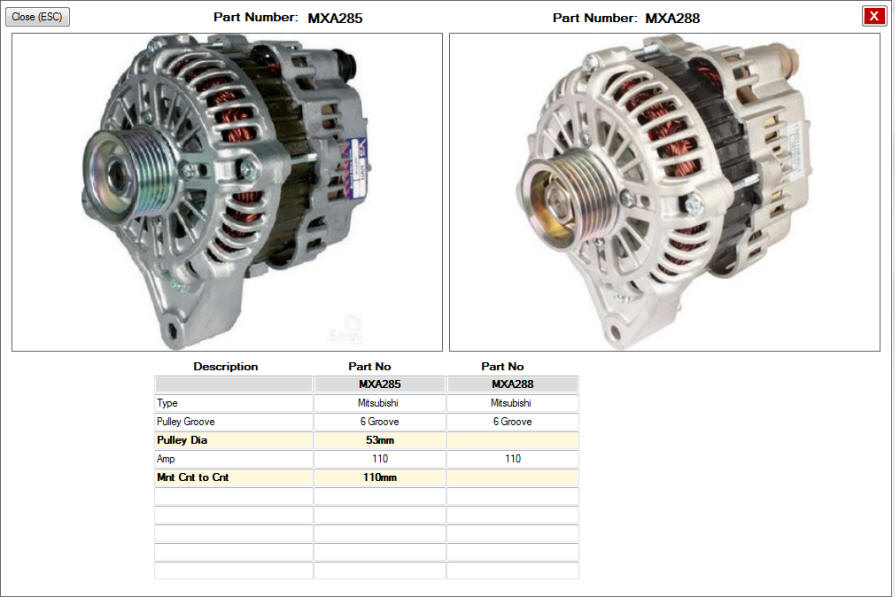
The last button on the Part Number Line is the 'i' button. This is the Info button which when clicked will display Images and/or Dimensions that are on file for the Part Number on the right hand side of the screen as shown below.
At the top of the section is the Part Number. Below that is the Image and the Dimensions. The Close button hides the image and returns back to part lists. Also on the 'Image/Dimension' section on the right there is a 'Tick Box' for 'Holding Part for Comparsion'.
|